Jane Cameron - Silk Painting Courses, Glass and Ceramics

  • Home
  • Courses
    • Online Course
    • Previous Courses
  • Music
  • SHOP
  • Fairs & Exhibitions
  • About
  • Blog
    • Links
  • Contact
    • Terms & Conditions
    • Privacy Policy
  • Home
  • Courses
    • Online Course
    • Previous Courses
  • Music
  • SHOP
  • Fairs & Exhibitions
  • About
  • Blog
    • Links
  • Contact
    • Terms & Conditions
    • Privacy Policy

Silk Painting - Fireworks on Silk - Batik

9/11/2015

0 Comments

 
I had a great time tonight painting fireworks on silk, so thought I'd do a very brief run-down of how I did it, in case you want to paint some too!
The first thing I did was, given the time of year, went out and watched some fireworks :).

Then I started off with an A4 piece of cartridge paper, some watercolour paints, my trusty Tixor Malam wax pot and a wax brush (cheap chinese calligraphy brush).

First I painted the bright firework colours on the paper, then I dried it, then I painted some wax over the bits I wanted to stay bright, then I painted black over the whole piece and let it dry (no hairdryer - you will melt the wax and the edges will go all weird).

Once I'd reassured myself that the process did work (I haven't worked with wax for a while!) I went on to do it on the silk.
Picture
Picture
This is my lovely wax pot, and my brush. These wax pots are expensive but SO worth it. The fact they're thermostatically controlled means they are so much better than some of the other pots out there. I got mine many years ago from the lovely ladies over at Handprinted.

I use a mixture of paraffin and beeswax (often sold as a ready-mixed pack called "Batik wax") for my work.

Some people use Soya wax, which is really ecofriendly as it washes out, but I don't get on with it at all - I like to work fairly wet and I find that it starts to wash out while I'm still painting and makes my edges all feathery!!! Not my idea of fun.
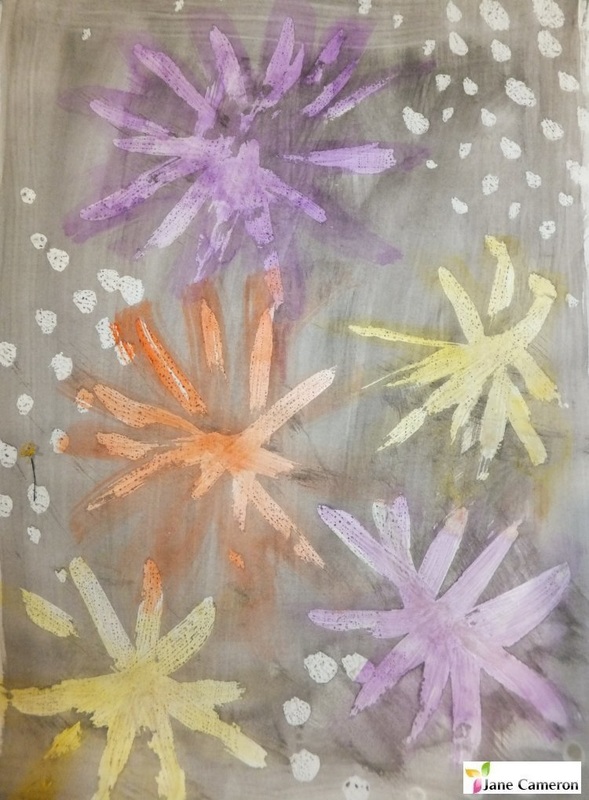
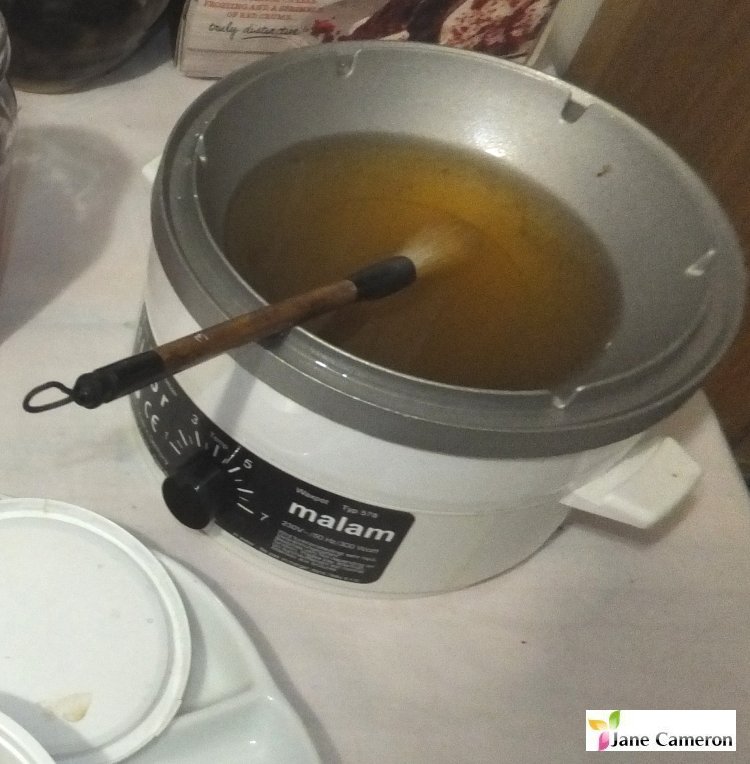
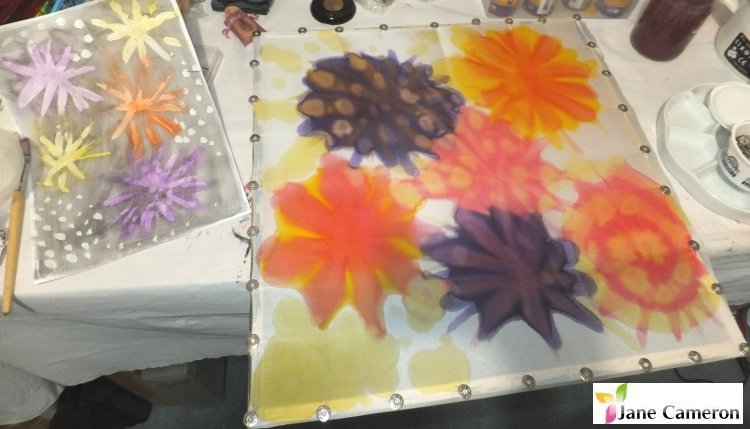
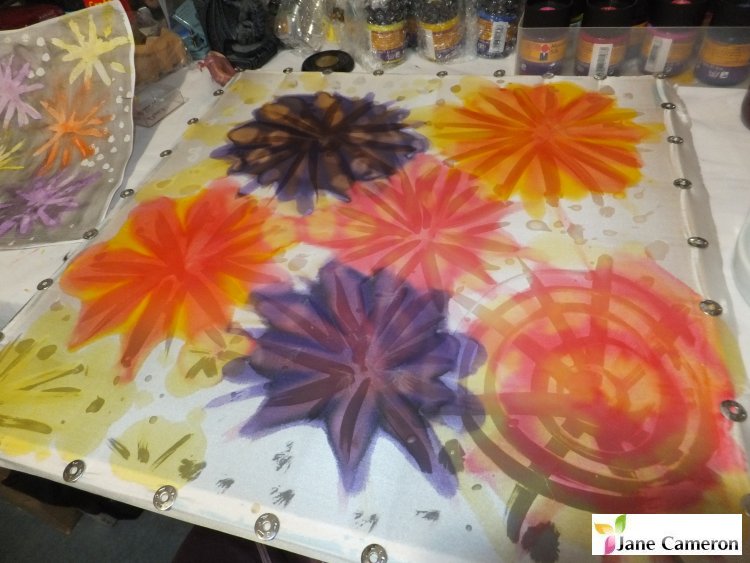
So, in the following photos you will see I have:
  • Painted some nice bright firework colours on to the silk (I used Marabu iron fixed silk paints)
  • Let it dry
  • Painted over the bits I want to keep with my hot wax brush
  • Let it set (NO hairdryers after the wax goes on or you will melt it and it will spread everywhere!)
  • Painted over the whole piece in black
  • Let it dry
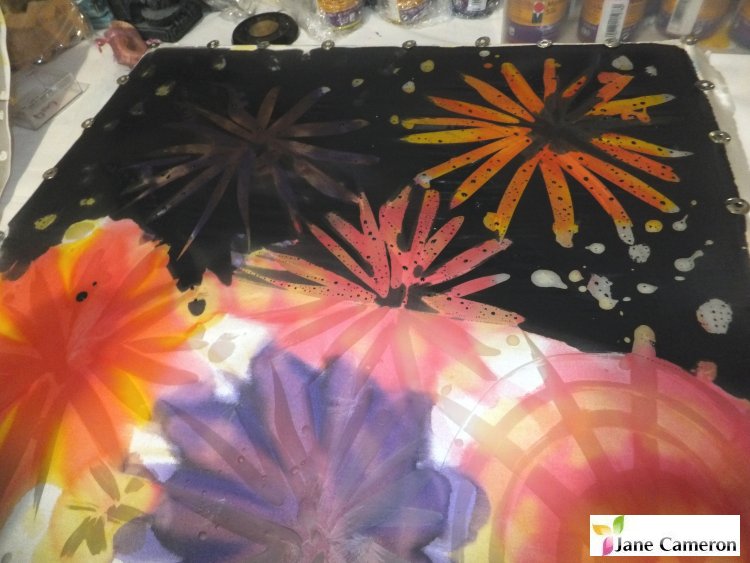
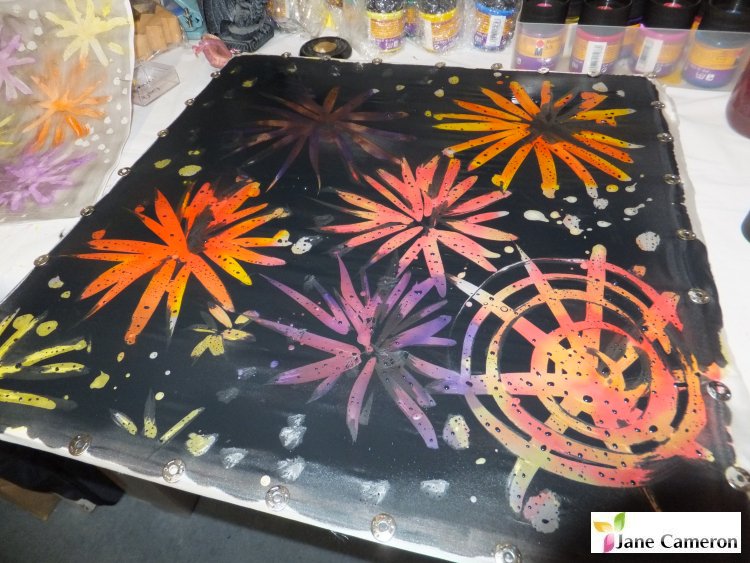
Once it had dried enough, there was one further very important step - if you don't want to have polkadotted fireworks, you need to remove the excess paint from on top of the wax. I do this with the corner of a damp kitchen towel. If you don't do this, when you iron your wax out, the paint will go through to the silk and cover it in little black dots.
Picture
The last step in the process will be to iron my piece between layers of old newspaper to remove most of the wax, then wash my piece in "wax out" or shake it in a jar of white spirit (or get it dry cleaned) to remove the residual wax.

After this has been done, my piece will be all nice and soft again, and will be able to be handwashed as normal. The colours will also be brighter as the wax will have been removed.

I hope this is helpful - happy creating!

Jane :)

Do leave me a comment here, or pop over and say hello on Facebook!
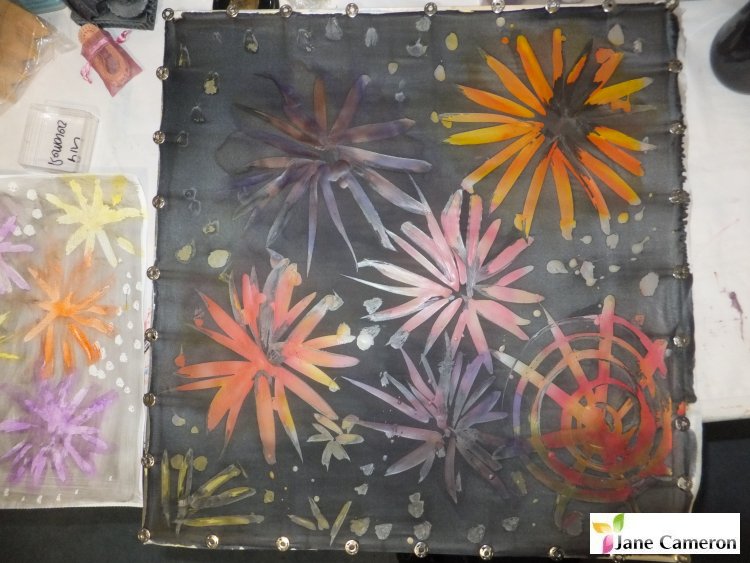
Picture
0 Comments

    Jane Cameron

    Experienced silk painter, glass fuser, teacher, enthusiastic and inspirational.

    Have you got a product you would like to send me to review, which is related to silk painting or textile art? Let me know!

    Archives

    June 2019
    February 2019
    January 2019
    October 2018
    July 2018
    May 2018
    February 2018
    November 2017
    October 2017
    July 2017
    June 2017
    May 2017
    March 2017
    February 2017
    January 2017
    November 2016
    October 2016
    September 2016
    June 2016
    April 2016
    February 2016
    January 2016
    November 2015
    October 2015
    September 2015

    Categories

    All

    RSS Feed

Powered by Create your own unique website with customizable templates.