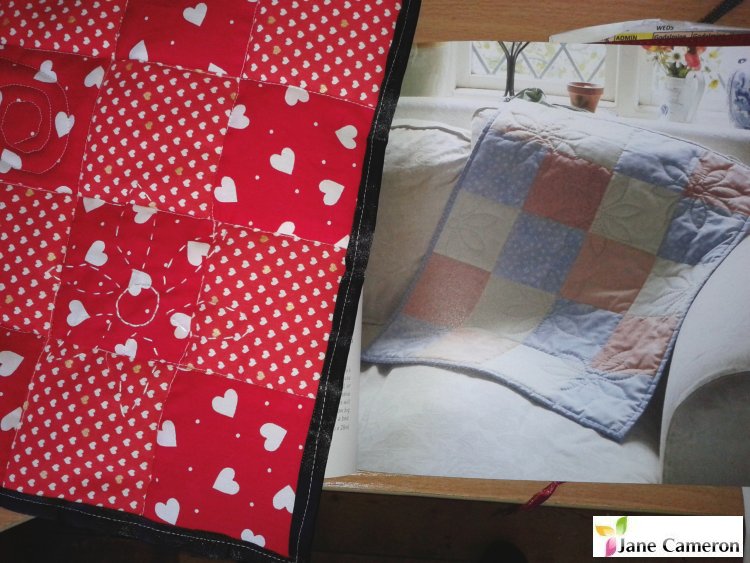
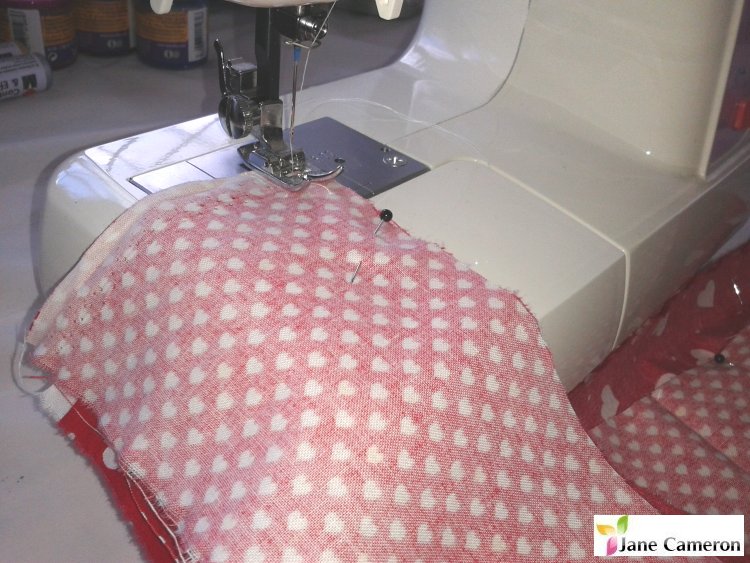
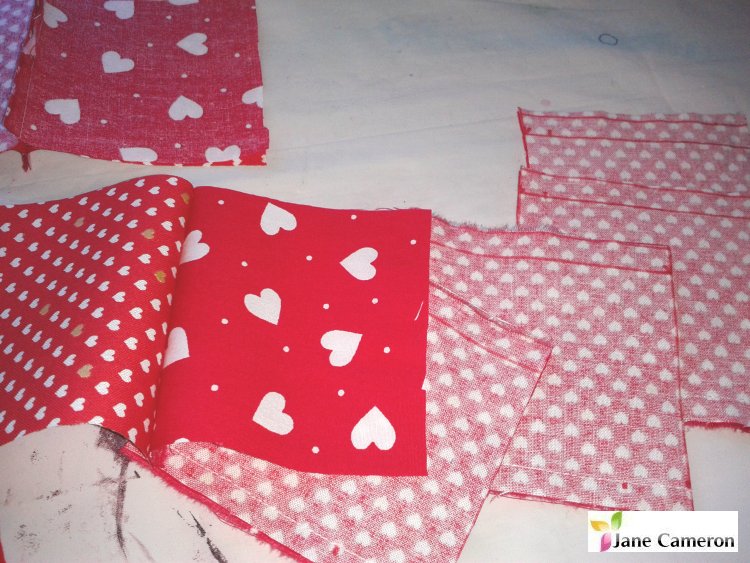
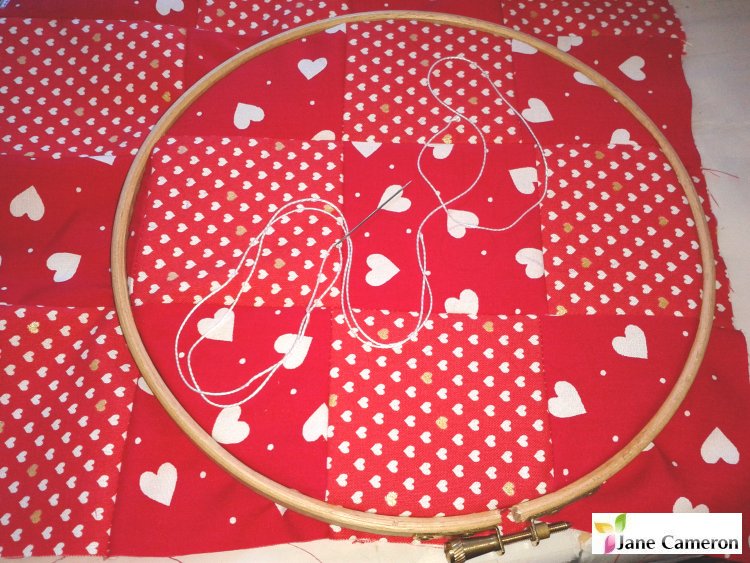
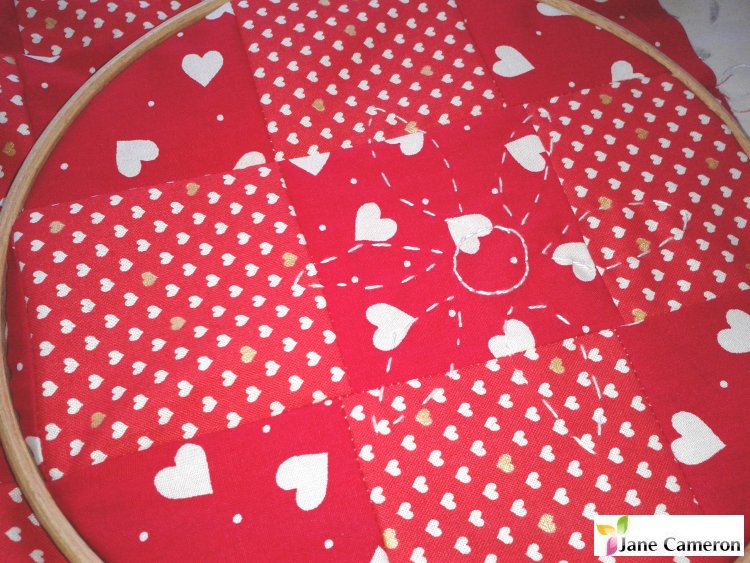
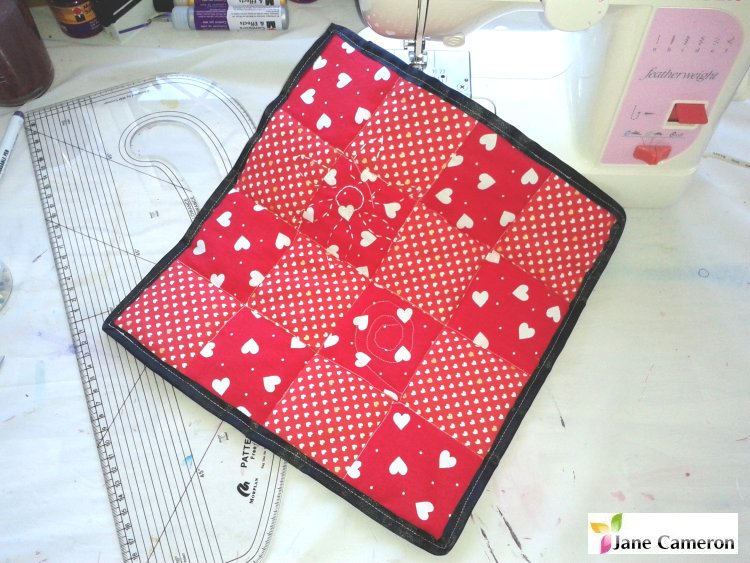
The Book: I was lucky to be recently given a copy of Quilted Flowers by Nikki Tinkler to review, thanks to my lovely colleagues at Search Press. Here's what they have to say about the book: "This book explains how to make 20 simple quilted flower inspired gifts, including cushions, bags, a wall hanging, a quilt, needlecases, greetings cards, a table runner, bunting and much more. Each project in this book is accompanied by a beautiful, full-colour styled photograph of the project together with a close-up detail; clear, step-by-step instructions; a list of the materials and equipment needed; and diagrams and templates where required. All the basic techniques are explained at the beginning of the book, making this an ideal book for beginners as well as more experienced stitchers looking for inspiration. • There is nothing quite like this book on the market, making it the first point of call for anyone interested in quilted flowers • 20 beautiful, unique projects to give away as gifts, or to keep for yourself as a wonderful treat • Clear step by step instructions make the quilted flower projects accessible for beginners, with plenty to inspire the more experienced" 64 pages. RRP £7.99 My review: This book is part of Search Press's "Love to Sew" series, which currently has about half a dozen titles. The projects themselves look quite simple, and it looks like a good way to use up offcuts from your fabric stash. The book looked nice when it turned up - square format, sturdy papery pages with the products nicely photographed in lifestyle settings. The book is well presented with materials, instructions, project pictures and some tips on each double spread. There are no progress pictures though, only words, which some people might find tricky to follow. I thought I'd try out one of the projects to see how easy / hard it was. Small projects are also a great way to support local makers and fabric designers, as even if you just buy a fat quarter from them it can go a long way! There's some good information at the front - it talks about the different types of wadding for hand and machine sewing - I didn't know there was a difference ...! There is also a helpful double spread showing how to do a range of hand stitches for sewing and embellishment, and a set of templates in the back of the book. I decided I would try out the first project, which is the "Mini Daisy Quilt". This is a 16-patch mini quilt with stitched daisies and an edge binding, which should come out about 2ft square. Thankfully I have a sewing machine, so I hoped this wouldn't take me too long. Experienced patchwork people may want to look away now ... a certain amount of unorthodox technique happened during the construction of this piece! As a novice patchworker I liked the way it suggested the colours I could use and told me how many pieces of each I would need. I decided to use some random fabric I had, and to make the squares a bit smaller, as I knew I didn't have much wadding and wanted to do it that day! I had also never done edge binding before and was a bit nervous! So, the instructions were fine - the fabric marking pen though fades INSTANTLY - suggest using something else like tailor's chalk which will stay on, or using a temporary stitch to mark the centre of each template so you can trace them on properly just before you embroider! I put my piece of patchwork into an embroidery hoop as I thought that would give me a better chance of sewing more even running stitch - I think it worked... If I did this again, I would do more embroidery on it, and use a less patterned fabric so it would show up more. Machine quilting all the lines outside the flowers was fine - I used an awful lot of pins to keep it in place - I'm not sure whether this would have been easier or harder with larger squares ... I started in the middle and worked my way outwards, which it didn't tell me to do, but I thought it might be a good idea as I was scared my wadding was going to run away! I did have to remember to seal all the ends of the stitching rows before skipping over the flower petal, which was a bit annoying. This would probably have come out better if I'd used a rotary cutter for my pieces rather than a ruler and scissors - as they didn't quite line up so this made the "stitch in the ditch" harder. I also did a couple of rows of zig zag stitch around the edge of the whole thing before tidying it up, to make sure it would stay relatively square - the outside corners were flopping around quite a lot, even with pins in. Yes I know I was supposed to do tacking stitches all the way across it, but that wasn't going to happen! I wasn't in the mood for tackling doing binding strips, and had it in my head that these would need to be bias cut (but on reading the instructions again they don't have to be), so I used wide satin ribbon instead and just sewed it on from the outside. I quite like the row of little stitches! There is another, better, explanation of how to do binding at the front of the book in the "Basic Techniques" section which I found later, so I might give it another go some time. My finished piece was approx 30x30cm and used 2x10cm strips of cotton fabric, 30x30cm of wadding, about 1m30 of black satin ribbon and a piece of old t-shirt for the back! I used crochet cotton for the flower.
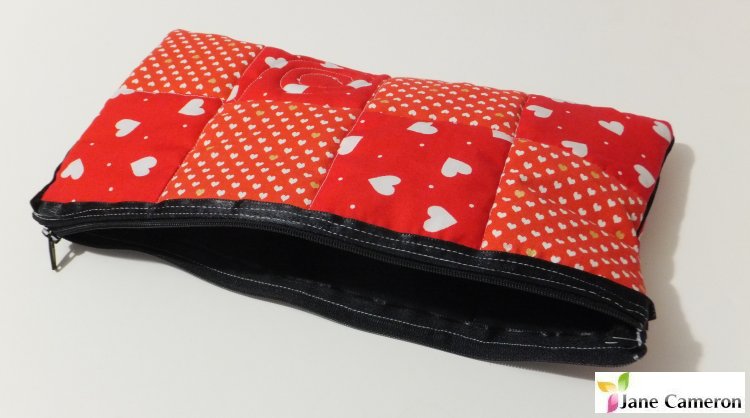
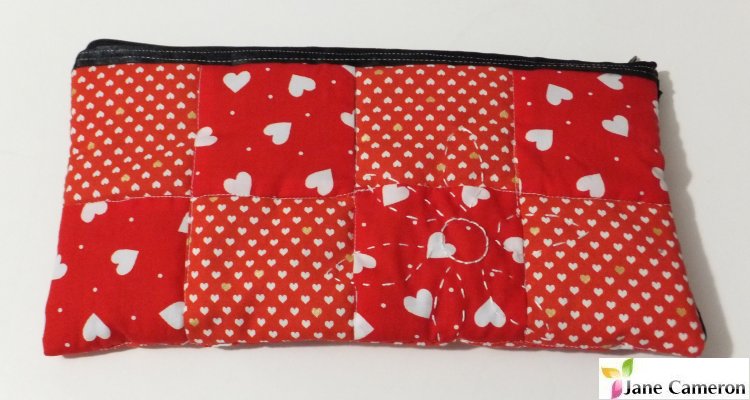
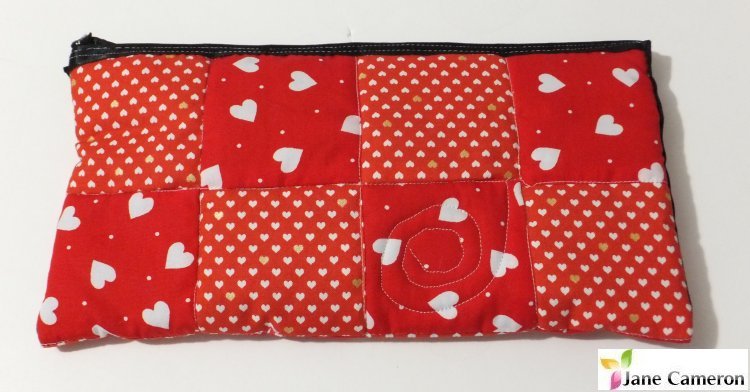
The one thing I don't like about my piece is the gaps in the grid lines on the back where you had to leave room for the flower petals to come through. It looks really bitty. I think I'm going to go back and fill those lines in, and never mind about the whole "Petal effect" thing... It's fun the way it goes across the boundaries between the pieces, but I think it looks messy without the full lines of stitching, given you get a pattern change along the line anyway. PS - I just realised why my flower looks weird. I embroidered it on to the top fabric before I assembled the quilt, rather than doing them through all three layers for that 3D effect! Whoooops! All in, this took me about 2.5 hours, and was quite a fun way to spend an afternoon. It was really nice to have a project which I could completely finish in a few hours, so if the rest are like that then I'd thoroughly recommend this book. I am impressed at how good my teeny little quilt looks, given I didn't follow the instructions anywhere near precisely ... More experienced stitchers will, of course, get more professional looking results! I then decided it would be a good thing to have something I could actually use, so I turned it into a pencil case instead! There are a good range of projects in this book, ranging from a simple felt applique card using blanket stitch through to an embroidered and quilted Christmas table runner. Some nice ideas which could be easily translated into projects of your own. You can get this book here: http://www.searchpress.com/book/9781844488476/quilted-flowers
3 Comments
Chryss James
13/7/2016 04:53:50
I like your website.
Reply
17/1/2022 08:04:07
This is a very informative—edifying article to all. Thanks a lot! Continue to post!
Reply
3/6/2022 06:08:25
Excellent article! Your post is essential today. Thanks for sharing, by the way.
Reply
Leave a Reply. |
Jane Cameron
Experienced silk painter, glass fuser, teacher, enthusiastic and inspirational. Archives
June 2019
Categories |

 RSS Feed
