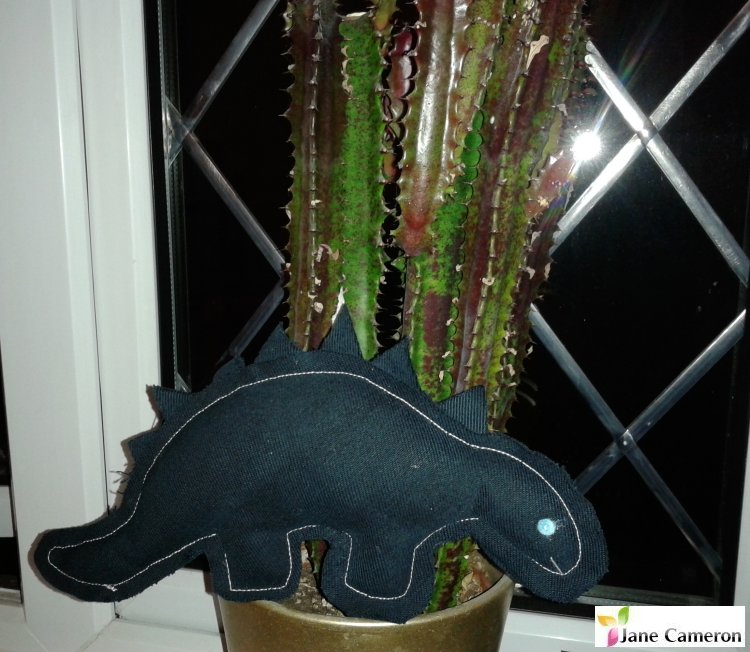
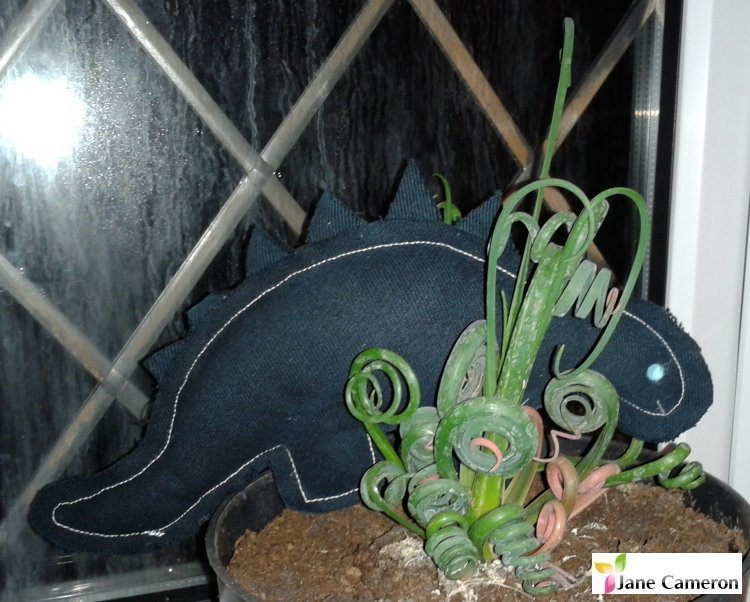
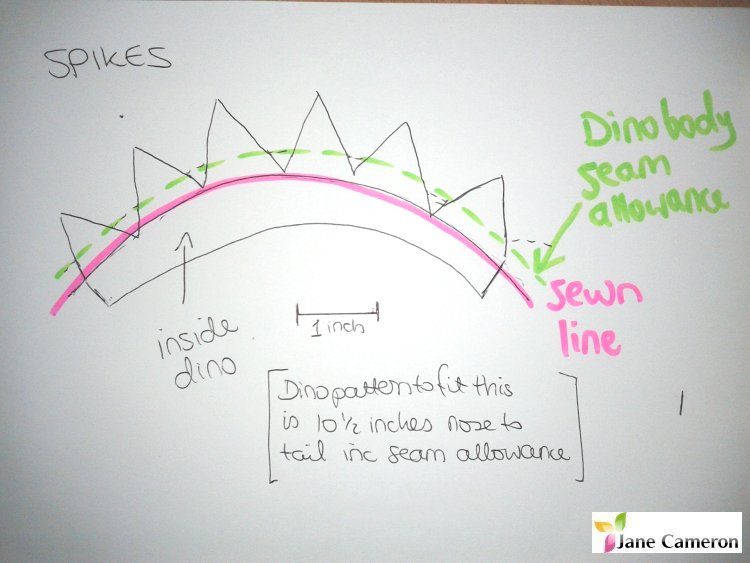
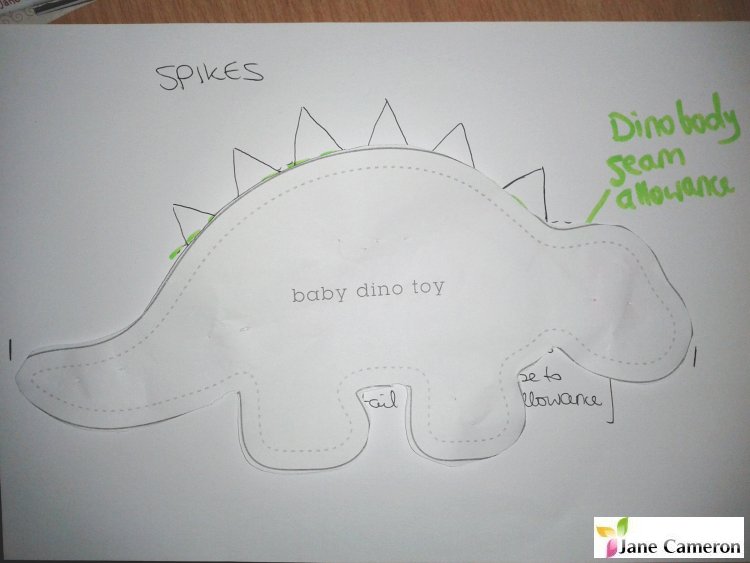
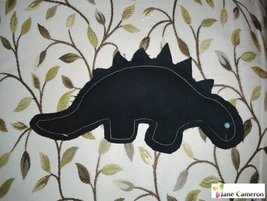
Plushie Denim Dinosaur Hello everyone! I decided it was about time for another random craft project. I was browsing Pinterest (yeah, hand me a picnic basket and come back in a week!) and found a plushie dino pattern so I just HAD to make it. The dino pattern I found was originally designed as a taggie toy, but I have made a few changes... Many thanks to http://firstdayofmae.blogspot.co.uk/2013/05/baby-dino-pattern.html for the original design. I took a pair of my husband's old jeans, which were no longer suitable for wearing, and cut them up to liberate the fabric. I kept the legs for later and used the offcuts from around the top for this project. I printed the pattern out as large as it would go on a piece of A4. I cut out two dino shapes. Then, rather than adding strips of ribbon for the spikes, I cut out a curved strip of denim with spikes on as I thought this would be more fun (and less hassle!). The denim will fray a bit but I quite like that it's going to do that (If I'd thought about it I would probably have sewn around the tops of the spikes to control the fraying!). The original tutorial told you to make your toy in the traditional "right sides together with spikes facing in on the inside, sew most of the way round, turn right side out, stuff, sew up" way. I decided I couldn't be bothered to try turning denim inside out tonight so did it a bit differently... Cutting out Cut out fabric, leaving seam allowance as suggested on the pattern Cut out curved strip with spikes on Cut two tiny coloured felt ovals (about 1/4 inch) for eyes (You could use beads if you don't want this to be child-friendly) (You could sew the eyes on at this point, if you want to machine sew them on and know exactly where you want them to go...) Assembly Assemble dino right sides out with spikes sticking out of the top Sewing Sew most of the way round along the pattern line, leaving the seam allowance sticking out. Leave a space along the tail for stuffing (this will be sewn up in a moment!) Stuffing Get your soft toy stuffing (or random felt / fleece / fabric scraps) and fill your dino as full as you like. Use a pencil or knitting needle to push the stuffing into the head and feet and tail. Finishing Once full enough, squeeze dino back into your sewing machine again and sew up the gap (or you could do this by hand if you're neat at hand stitching!). Now it's time to sew on the eyes and sew one stitch on each side for the mouth. I used the knot in the end of the thread in the centre of the eyeball, but you could always use a bead (not child friendly) or a proper french knot. The raw denim edges will gently fray as time goes by, giving your dino a lovely shabby chic look. To speed this up, pop him in with your next "40 wash" in the machine. Enjoy! Things I would do differently next time ...
I'm not sure there is anything I'd really do that differently next time. I love the silhouette look with the white thread and the black denim. I think the little blue eyes and the mouth give it a lovely personality. The only thing I might do is sew round the edges of the spikes as well, possibly in matching thread, so that they don't fray so much. Other options:
1 Comment
14/9/2016 11:11:22
This is so sweet, perfect for any dinosaur lover. It's good to see you've reflected on what you would do next time - personally I think it looks like you've done a great job.
Reply
Leave a Reply. |
Jane Cameron
Experienced silk painter, glass fuser, teacher, enthusiastic and inspirational. Archives
June 2019
Categories |

 RSS Feed
