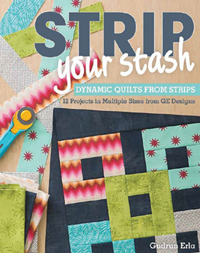
Search Press Book Review - Strip Your Stash – Dynamic Quilts made from Strips - Gudrun Erla25/10/2015 About this book
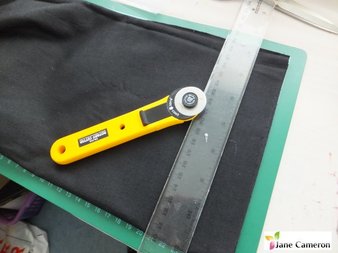
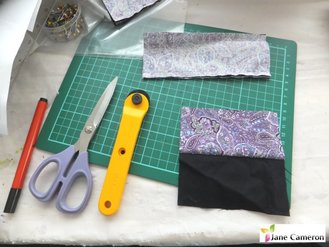
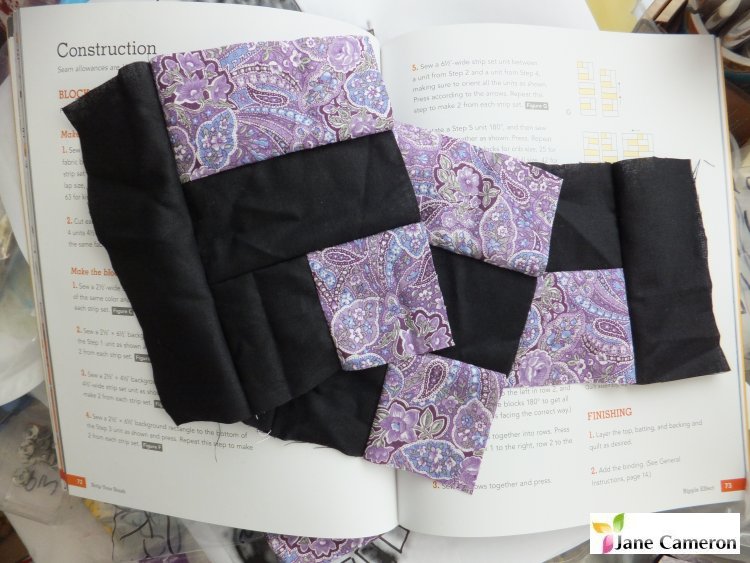
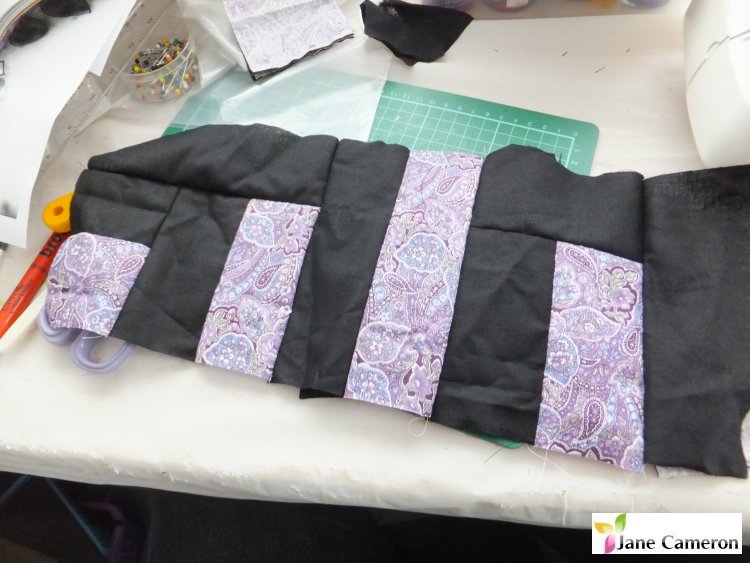
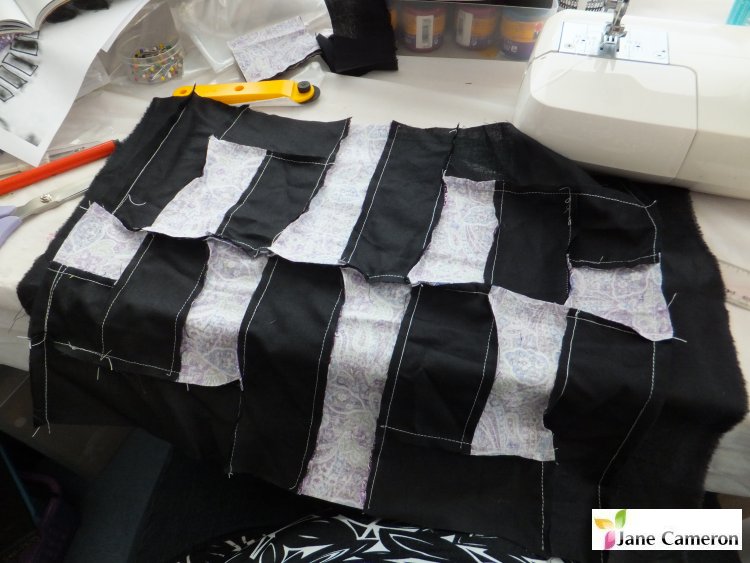
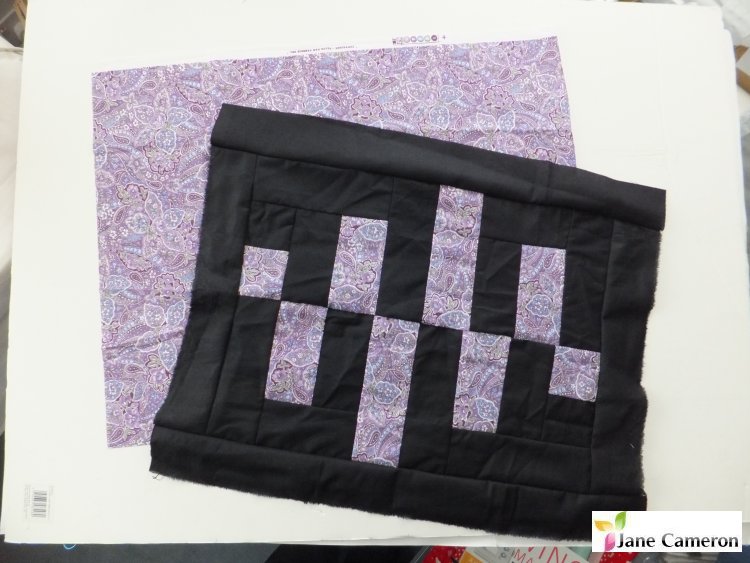
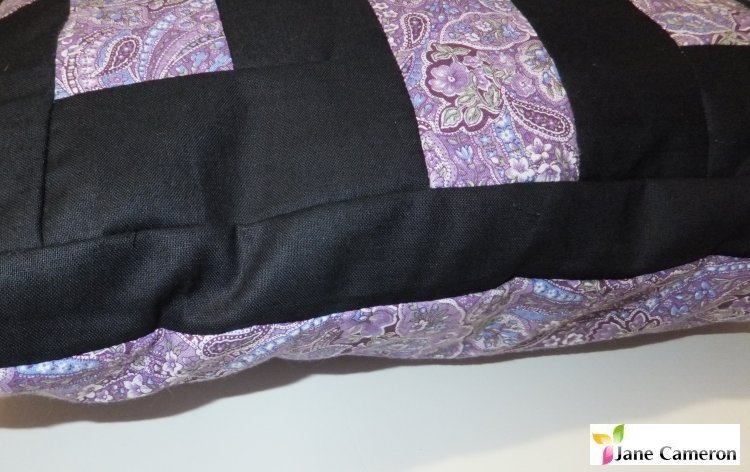
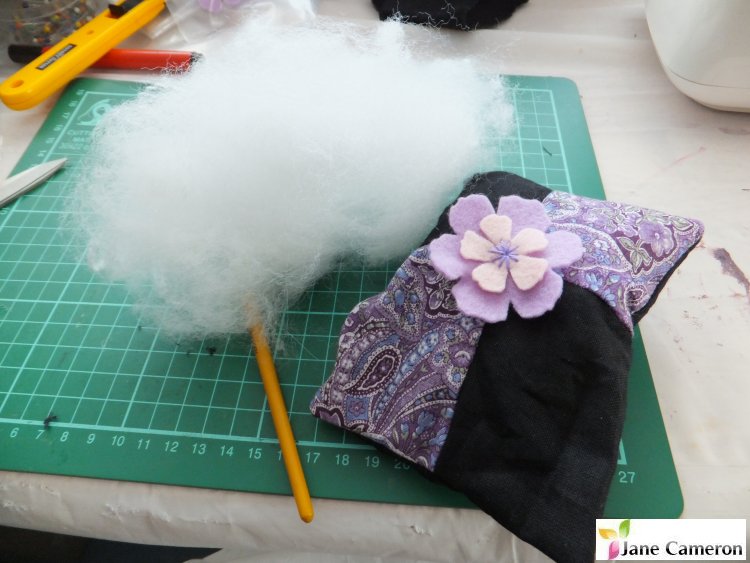
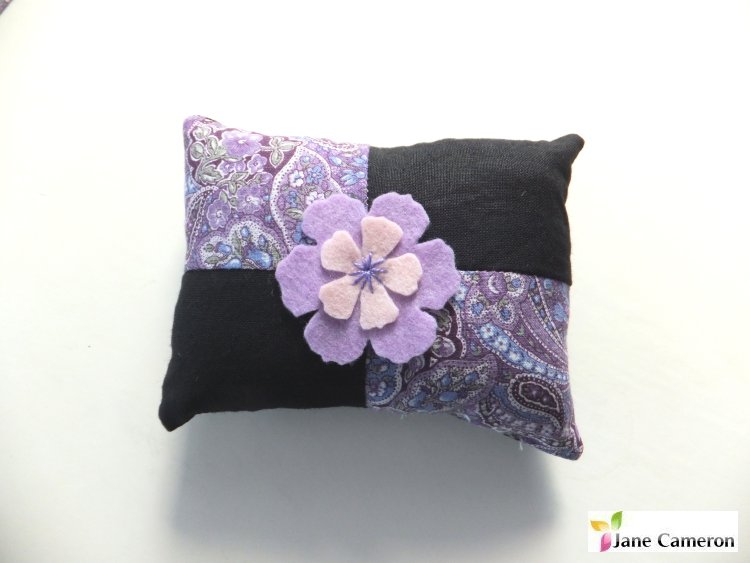
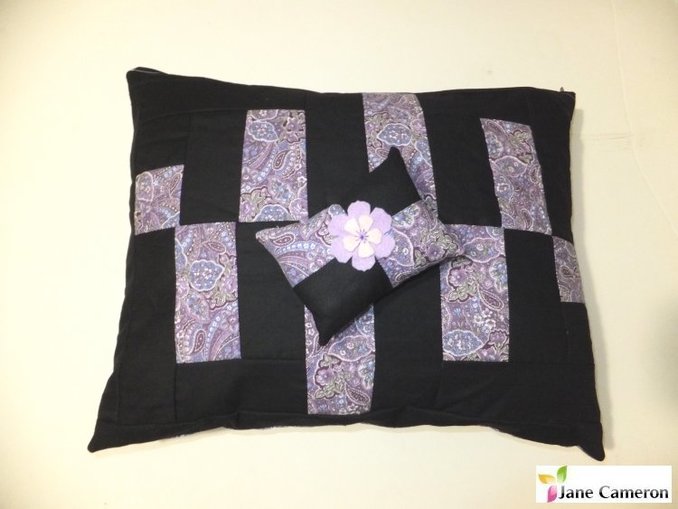
My reviewI’m not a patchworker but I love this book! It makes me think that I could be one! The instructions are fantastic, so clear, with lots of pictures and diagrams, and tables to show you exactly how many blocks and how much fabric you need for each type of quilt. So, I decided to have a go at the Ripple quilt. A small one. I chose this one because it was all straight lines and no diagonals so I thought I’d have a chance of getting it right! It starts off with an insight into how to collect, prepare and store your strips, which would be really helpful for someone with a larger stash, and suggests steam ironing them before use to reduce the chance of shrinkage. The book then talks about each quilt design and gives some ideas for how to select fabrics to make them look effective. It also has some pages of general instructions, including some great pictures on how to bind a quilt using straight-grain binding. Each section of the book is a complete project. This makes it easy to concentrate and not get lost! It also tells you the size of your finished block, which in the “Ripple Effect” version is 12ins x 16ins. I knew I didn’t need a full size quilt, so wondered whether I should just make a couple of blocks and turn them into cushions or bags … Or whether to make a long thin one to go across the end of the bed … which would also mean it would fit in the sewing machine! Decisions! Time for a look through the fabric stash! Unfortunately, unlike Gudrun, I don’t have a nice pre-cut set of strips anywhere so I have to choose my fabrics and then play with the rotary cutter and mat … time to go and make them earn their keep! As I have a lot of black fabrics, and it’s that time of the year, it would be fun to make a Halloween quilt thing for the end of the bed. However, I decided to play safe and just make a cushion, as I had a rectangular cushion pad which needed using up and this block looked just right. Ironing your pieces, as instructed, will really help you with this project! However, I was upstairs and the iron was downstairs so that didn’t happen …! So, cutting and sewing the pieces was easy. The instructions were brilliant and clear enough that I felt really confident working on it. I’m really proud of what I achieved in an afternoon. Having made the block, it was a bit too small to make a good cushion cover, so I decided to put a whole run of black all the way round – needed a strip and a bit – as this meant it stayed similar dimensions. I also then discovered that the remains of my pretty purple paisley FQ, which I’d taken two strips off to make the front, was a perfect size for the back! I had an absolutely awesome fun time making this and I LOVE my new cushion! I even managed to put in a zip! I also had just enough left over to make a matching pincushion ... Who would have thought it would need that much stuffing... Learning points:
Thanks so much to the lovely people at Search Press for my review copy of this book!
I used: Black fabric strips 2.5 inches wide by 42 inches. Patterned fabric 21.5 inches square.
0 Comments
Leave a Reply. |
Jane Cameron
Experienced silk painter, glass fuser, teacher, enthusiastic and inspirational. Archives
June 2019
Categories |

 RSS Feed
